Please update your browser.

It looks like you are using an old version of the Microsoft Edge browser. To get the best experience with the Busch website, please update your browser.

Contact
Global

Vacuum Gauges

Controlling the vacuum level ensures smooth processes and highest product quality.

busch_vactest

The marketing-cookies have to be accepted to watch this video.

Allow all cookies

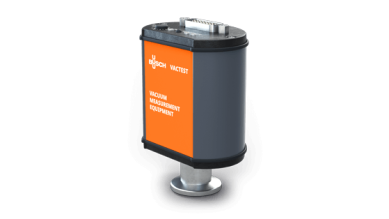
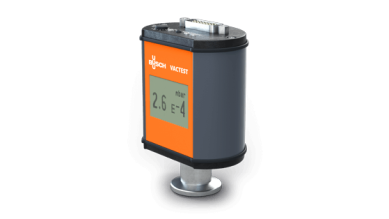
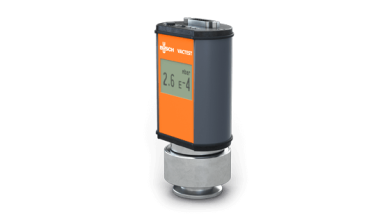
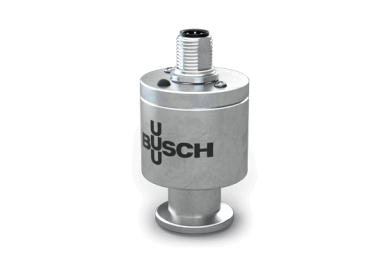
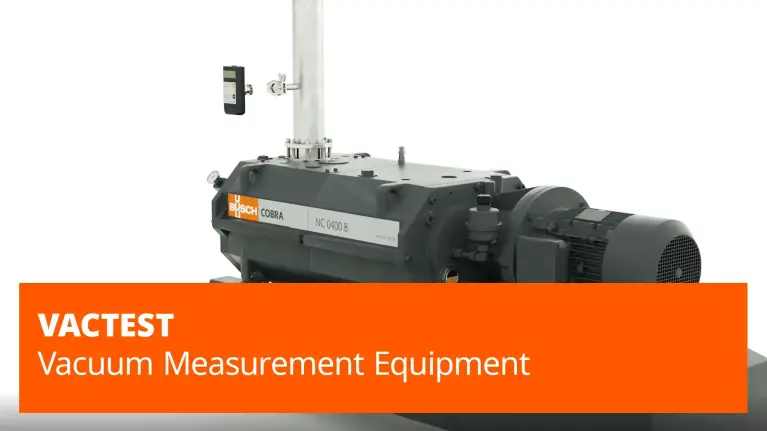
Busch VACTEST sets a new standard for vacuum measurement equipment. Designed to combine the latest advances in vacuum metrology with exceptional manufacturing quality, it provides an innovative and comprehensive portfolio of active vacuum gauges and controllers.

Your benefits at a glance

Sophisticated

Full measurement range (1600 to 5 · 10⁻¹⁰ mbar), state-of-the-art micro-controller technology

Reliable

High industrial standards, robust construction, insensitive to shock venting

Efficient

Modular design, plug&play sensor for maximum uptime

The VACTEST gauges are very reliable, durable and user-friendly. We can only recommend VACTEST to other companies in our industry.
Astrid Hernández, Head of Laboratory, Frigorifico Osorno, Chile

VACTEST product lines

With five product lines available, Busch VACTEST meets accuracy, measurement range and functional requirements of every vacuum system or process.

Several state-of-the-art technologies allow for a wide measurement range from 1600 to 5 · 10-10 mbar covering all vacuum levels with accuracy.

All sensors comply with international standards and regulations such as CE and RoHS. Corresponding to our extensive portfolio of vacuum pumps, blowers and compressors, we offer the right measurement technology for every process.

Mobile Gauges

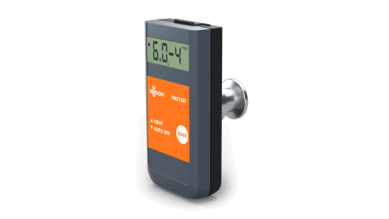
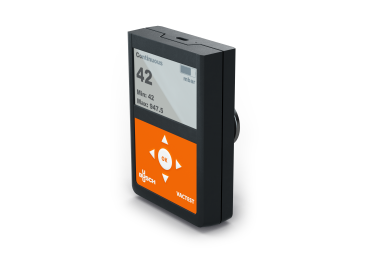
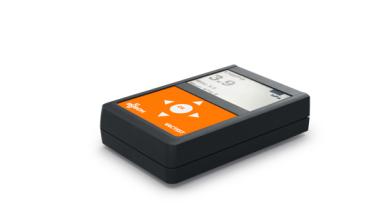
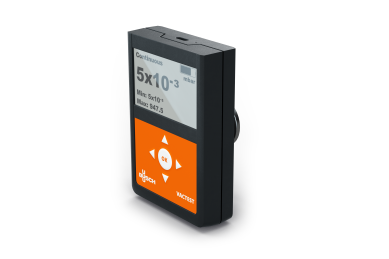
VACTEST mobile gauges are the perfect handheld solution for service or vacuum process quality assurance. These battery-operated gauges offer various functions such as an USB interface for data export and visualization, a data logger and can even be used under vacuum.

Packaging gauges

VACTEST packaging gauges are specially designed for direct use in food packaging processes. They can be placed inside the packaging to check the vacuum attained. Thanks to their rechargeable battery, internal data logger, and Bluetooth interface, VACTEST packaging gauges are the ideal solution for the food packaging industry.

Digital Transmitters

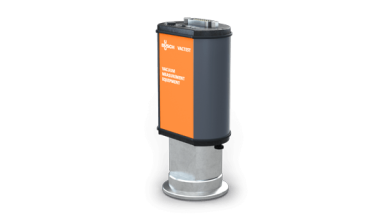
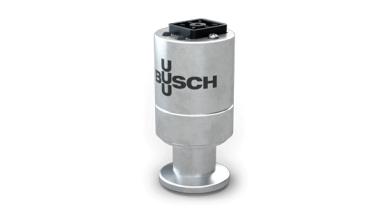
VACTEST digital transmitters are high-end gauges coming with a full range of options as standard. Their smart micro-controller architecture allows for an optimum sensor control as well as many setting possibilities making them the ideal solution for many applications.

Analog transmitters

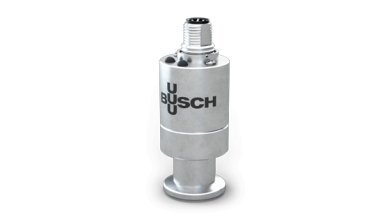
VACTEST analog transmitters feature a compact, rugged and functional design. Thanks to their excellent measurement accuracy and stability, these transmitters are ideal for centralized monitoring and control systems.

Control units

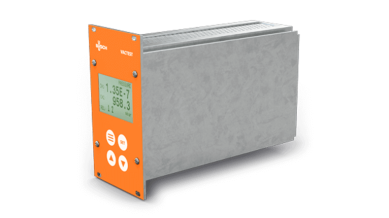
The two active sensor controllers CTR 002 and CTR 004 are compact control units for simultaneous operation with two or four vacuum gauges.

Types of Vacuum Gauges

Different measurement principles are required depending on the vacuum level in your process. There are four levels of vacuum:

  • Rough
  • Medium
  • High
  • Ultra-high

Accurate pressure measurement is a key factor in vacuum-assisted production processes. It ensures optimum efficiency and high product quality. Several sensor technologies are available to measure all 14 decades of vacuum with accuracy. They can be divided into two main categories: direct and indirect pressure measurement.

Direct pressure measurement:

Indirect pressure measurement:
Find out how to select the right vacuum measurement equipment.
Read on

Direct pressure measurement
(gas type independent)

The direct measurement principle is independent of the process gas and based on the force exerted by the molecule flow on a diaphragm. This method is mainly used for rough and medium vacuum processes. As the pressure decreases, the number of gas molecules becomes too small to be properly detected by the sensor.
Vacuum measurement principle piezoresistive sensor

The marketing-cookies have to be accepted to watch this video.

Allow all cookies

Piezoresistive sensor

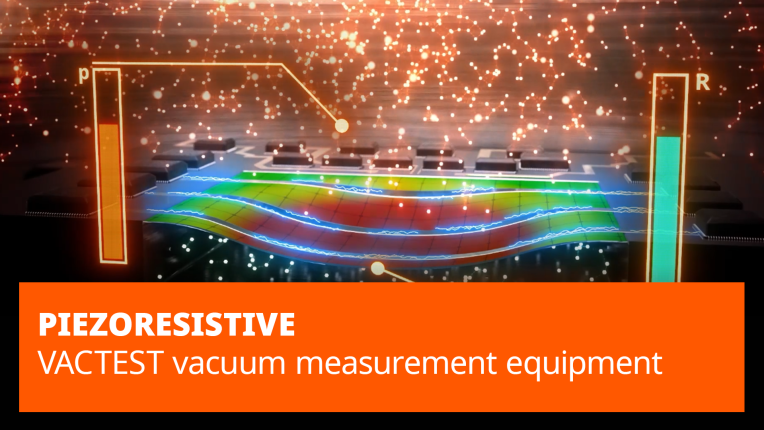
The robust and cost-effective Piezoresistive sensor technology measures the change in resistance of a strain gauge resulting from the diaphragm deflection. Its robustness and versatility make it the best choice for an absolute pressure measurement in the rough vacuum range.

  • Measurement range: 1600 to 1 mbar
  • Excellent measurement accuracy
  • Chemically resistant ceramic sensor
  • Short response time
  • High reliability
  • Long term stability
Vacuum measurement principle capacitive sensor

The marketing-cookies have to be accepted to watch this video.

Allow all cookies

Capacitive sensor

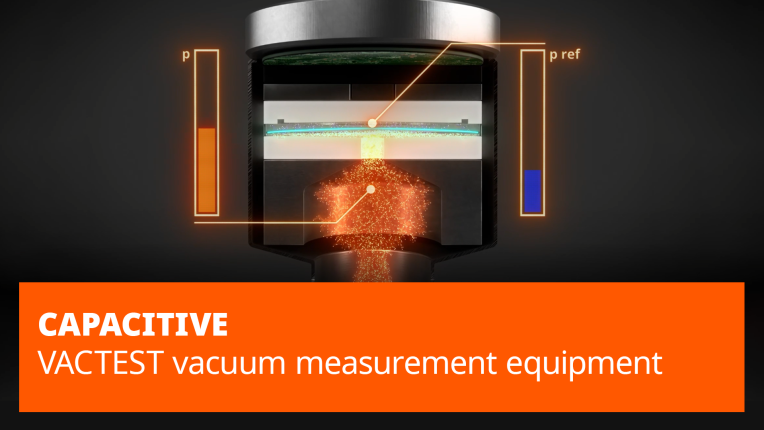
High resolution and accurate capacitive sensors measure the change in electrical capacitance of a plate condenser induced by the diaphragm deflection. These sensors have been specially designed for industrial applications where high accuracy and chemical compatibility are required.

  • Measurement range: 200 to 0.1 mbar
  • Excellent measurement accuracy
  • Chemically resistant ceramic sensor
  • High reliability
  • Temperature compensated
  • Industrial metal design
  • High protection class

Indirect pressure measurement
(gas type dependent)

At a higher vacuum level, indirect measurement principles are used, based on special properties of the process gas, such as thermal conductivity or ionization probability. In opposite to the direct measurement method, those principles are dependent on the nature of the process gas, and therefore a specific correction factor has to be applied for each process gas different than air or nitrogen.
Vacuum measurement principle pirani

The marketing-cookies have to be accepted to watch this video.

Allow all cookies

Pirani gauges

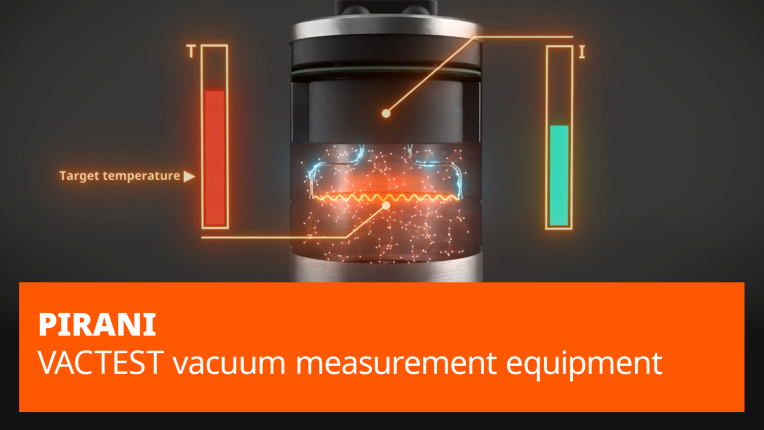
The robust and reliable Pirani technology measures the thermal conductivity of gases. The heat transfer between a heated filament and its surrounding environment will change in proportion to the pressure. Pirani sensors are the best solution for medium vacuum applications.

  • Wide measurement range from 1000 to 1·10-4 mbar
  • Optional combination with a Piezoresistive sensor to increase accuracy when measuring high pressures
  • Spiral coil filament for better accuracy and durability
  • Superior stability through individual temperature compensation
  • Excellent resistance to contamination
  • Optional Pt/Rh filament for corrosive applications
Vacuum measurement principle cold cathode

The marketing-cookies have to be accepted to watch this video.

Allow all cookies

Cold cathode gauges

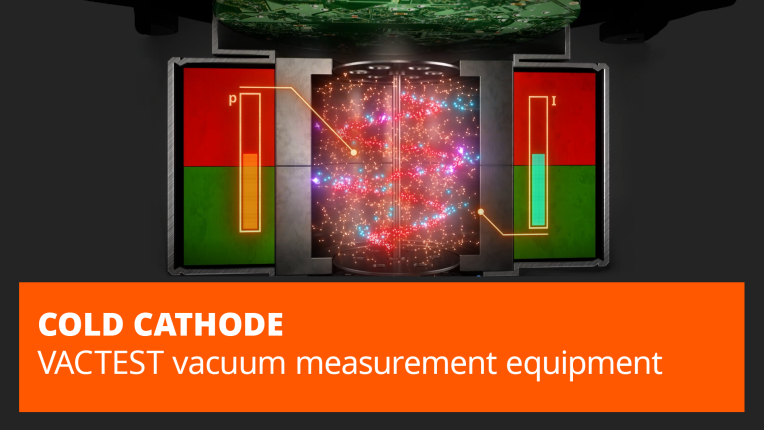
Cost-effective and robust cold cathodes (inverted magnetron) measure the electrical conductivity of a plasma. Neutral gas molecules are ionized through collision with electrons and collected by the cathode. The generated current is an indication of the pressure in high and ultra high vacuum processes.

  • Combination with a Pirani sensor for an extended measurement range: 1000 to 5·10-9 mbar
  • Low measurement uncertainty: <25% for high vacuum
  • Automatic power-on and power-off to extend sensor life
  • Fast ignition even at high vacuum
  • Low magnetic stray field
  • Automatic adjustment of Pirani zero pressure during operation
Vacuum measurement principle hot cathode

The marketing-cookies have to be accepted to watch this video.

Allow all cookies

Hot cathode gauges

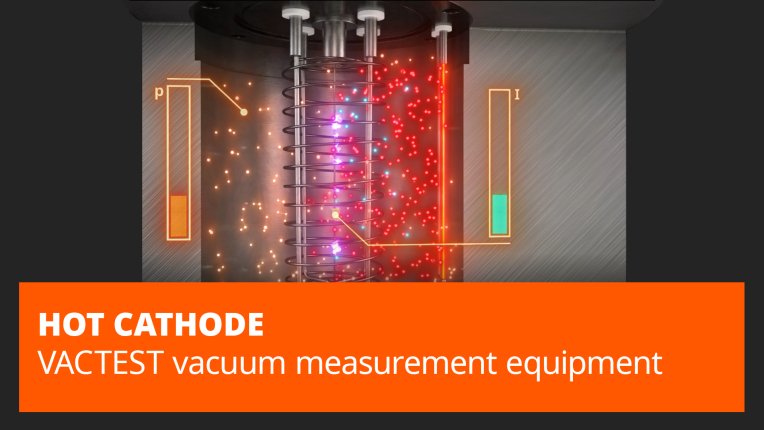
Stable and reproducible hot cathodes after the Bayard-Alpert principle measure the gas ionization via thermal electron emission. The ion collector current is linearly related to the gas pressure. This technology is one of the most accurate measurement principles for high and ultra-high vacuum.

  • Combination with a Pirani sensor for an extended measurement range: 1000 to 5·10-10 mbar
  • Excellent measurement accuracy: <10% uncertainty below 10 mbar
  • Enhanced lifetime due to double filament
  • Automatic power-on and power-off to extend sensor life
  • Automatic adjustment of Pirani zero pressure during operation
  • Tested with >100,000 shock venting cycles

Calibration service

calibration_service_stage
Factory calibration deteriorates over time as the gauge is exposed to several temperatures and pressure cycles. This causes certain materials to expand and contract, leading to a change in measurement.

During calibration, the gauge is compared to a reference gauge, and a report is generated to document any deviation.
Calibration service

FAQ

What are vacuum gauges?

A vacuum gauge is an instrument that measures the vacuum level in your application. This ensures that the correct vacuum level is supplied throughout your process. Monitoring the level of vacuum makes sure that your process runs smoothly and that your product is of the highest quality. For example, food products are packaged correctly, or layers of different materials are accurately laminated together.

Robust construction, reliability and measurement accuracy are key features of these devices, making them the ideal choice to monitor and control your vacuum process, whether it is in industry or research.

How to select the right vacuum measurement equipment?

It is essential to know the pressure range, required accuracy, gas composition, process and environmental conditions when selecting the vacuum gauge with the correct measurement principle for your process.

Your local Busch representative can help you choose the right gauge.

1. Pressure range and required accuracy

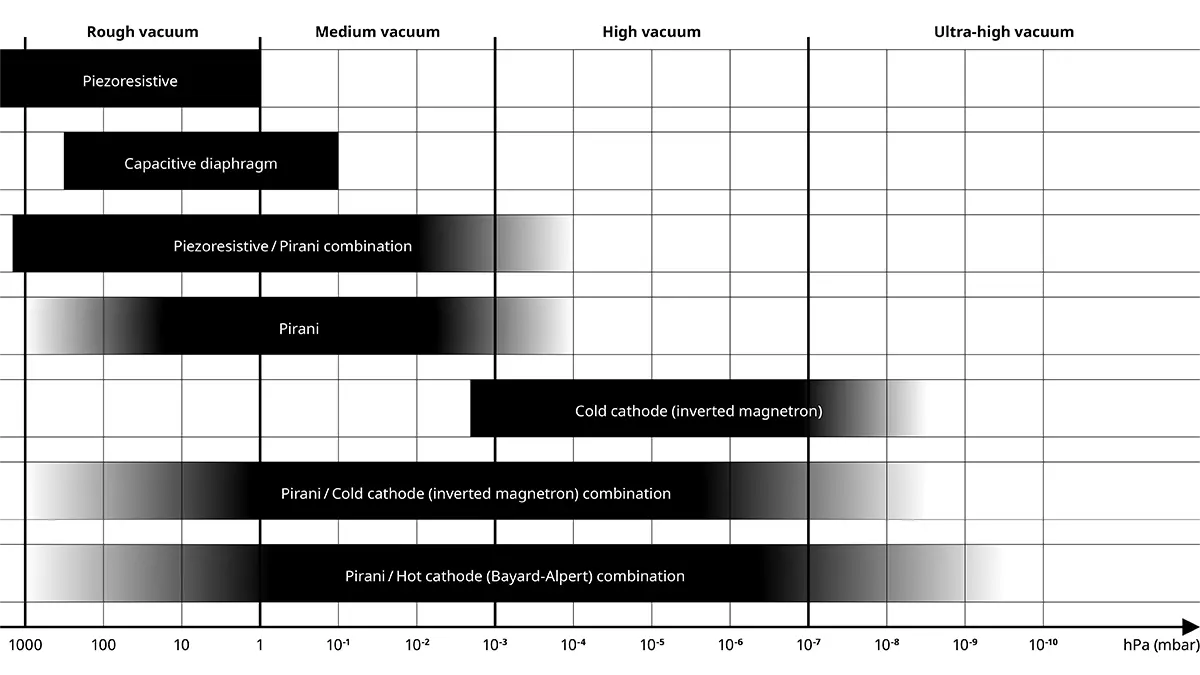
To obtain accurate readings of the vacuum level produced by your pump, the gauge must be able to measure within the range that corresponds to the pump’s performance. Otherwise, you could end up with a gauge that cannot measure within the vacuum range of your process. The chart below shows the pressure ranges covered by VACTEST. Depending on the pressure range, it may be necessary to combine different measuring principles in one instrument.

Measurement principle
Pressure Range
Accuracy
Piezoresistive
1600 – 1 hPa (mbar)
< 0.3% full scale
Capacitive
200 – 0.1 hPa (mbar)
< 0.25% full scale
Pirani
1000 – 1 · 10-4 hPa (mbar)
1000 – 20 hPa (mbar): 30% from reading 20 – 2.0 · 10-3 hPa (mbar): 10% from reading
Cold cathode
2 · 10-3 – 5 · 10-9 hPa (mbar)
< 25% from reading
Hot cathode
3 · 10-3 – 5 · 10-10 hPa (mbar)
<10% from reading

2. Gas composition

The vacuum gauge has a sensor that may come in contact with the measured medium. Consider the reaction this contact can cause. For example, is the medium corrosive, does it solidify at a specific temperature, or could it leave deposits in the sensing element?

3. Process and environmental conditions

Think about the working conditions that your gauge will be in. Temperature, moisture, and dust can all affect accuracy and longevity.
What does a vacuum gauge tell you?

A vacuum gauge measures the vacuum level in your process.

What is the difference between a pressure gauge and a vacuum gauge?

A pressure gauge is an instrument that measures the pressure difference between a system and atmospheric pressure. Therefore, a vacuum gauge can be considered a type of pressure gauge.

However, other pressure gauges are mainly used to measure pressure above atmospheric pressure, while vacuum gauges measure below.

What are the technical features of an analog gauge?

Analog gauges have five technical features.

1. High-performance: Outstanding features as standard.

  • Extended measurement range 1200–5·10-10 mbar
  • Excellent measurement accuracy and reliability
  • Digital micro-controller intelligence
  • Two integrated setpoints as standard
  • Bake-out temperature up to 180°C without electronics removal

2. Robustness and durability: Developed for industrial applications.

  • Robust sensors, insensitive against shock venting and vibration
  • Metal-sealed for ultra-low leakage rate
  • IP40 or optional IP54
  • Overpressure limit up to 10 bar

3. Application-oriented: Maximum flexibility.

  • RS485 interface and 0–10 V output signal
  • Integrated and highly visible display (option)
  • Compatible with competitors’ gauges – customizable output signal
  • Individual gauge power supply without controller possible

4. Complete control: Individual configuration.

  • Measurement value at a glance due to the external controller
  • Customizable gauge configuration via PLC or PC
  • Wireless connection via Bluetooth module
  • Configuration and data management via VACTEST explorer software

5. Easy servicing: Plug&play replacement sensor.

  • You can do the exchange on-site
  • No special tools are required
  • Sensor is interchangeable without calibration
  • Replacement sensors automatically take all parameters

What are the technical features of a digital gauge?

Digital gauges have three technical features.

1. Leading-edge technology: Accurate measurement results.

  • Wide measurement range 1400–1·10-4 mbar covering the whole rough and medium vacuum range
  • Excellent measurement accuracy
  • Superior measurement stability through individual temperature compensation

2. Reliability and safety: In line with industrial requirements.

  • Robust stainless steel housing
  • Resistant against shock venting and vibration
  • Reliable in sophisticated applications
  • Metal-sealed for ultra-low leakage rate

3. Flexible scope: Perfectly adaptable to every process.

  • Very compact industrial design
  • Flexible analog output signal (0–10 V or 4–20 mA, depending on the model)
  • Zero adjustments by digital push button
  • Compatible with an external controller

What are the technical features of a mobile gauge?

Mobile gauges have four technical features.

1. Excellent accuracy: Long-term measurement.

  • Wide measurement range 1600–5·10-4 mbar
  • Excellent measurement accuracy up to 0.3% full scale
  • Up to 2500 hours of battery life

2. Compact and portable: Unique handheld gauge series.

  • Very compact and light vacuum gauge as a hand unit
  • Detachable, external Pirani sensor with long-life spiral coil filament (TTP 900)
  • Reliable in sophisticated applications
  • Can be used inside a vacuum chamber

3. Optional interfaces: Data logger and memory function.

  • USB interface for data export and visualization
  • Online reading via USB to PC
  • Easy data export and management via VACTEST Explorer software
  • Data logger for up to 2000 measurements
  • Min. and max. memory functions

4. Maintenance-oriented: Quick vacuum test.

  • Designed for easy maintenance inspection of vacuum installations
  • Pumping speed and leakage rate function via pressure down or rise method

How often should gauges be calibrated?

Your vacuum gauge should be recalibrated yearly.

Does your gauge need to be recalibrated? Find out more about the Busch calibration service or get in touch with our Busch service experts right now!

What are typical applications for vacuum gauges?

Vacuum gauges are applied in all industries that use vacuum generators in their processes. This ranges from the automotive industry to pharmaceuticals and vacuum packaging of foodstuffs. Use the vacuum gauge to ensure that your vacuum pump or system operates safely within the desired pressure range and maintains product consistency.

What is an active sensor controller?

With the Active Sensor Controllers, you have all measurement values at a glance. Two compact control units are available for simultaneous operation with two or four vacuum sensors. Used either as a tabletop or a rack mount, they feature large LCD displays with background illumination, several relay contacts, as well as both USB and RS232 interfaces. The CTR 002 and CTR 004 allow full control and configurations of the sensors thanks to intuitive navigation. Parameters such as gas type correction factor, pressure units, setpoints and other beneficial functions are easily adjustable.

How can I protect my gauge?

To increase the lifetime of the gauges and guarantee measurement accuracy, it is important to protect them against contamination. Therefore, installing protection between the sensor and vacuum system is highly recommended. Busch provides baffles, wire filters, and spiral tubes to ensure the safe operation of your measurement equipment.

Can the sensor head be replaced?

Spare sensor heads are available for all Digital Transmitters. The plug&play ability keeps calibration and setting parameters, ensuring fast sensor replacement without impacting the process.

Can my vacuum gauge be controlled with software?

Busch offers VACTEST Explorer as an indispensable software tool to visualize, analyze and compare process data quickly and efficiently. Available in Lite and Pro versions, VACTEST Explorer has various functionalities such as calculation of leakage rates, remote control of Active Sensor Controllers, pump down curves comparison, configuration of all digital transmitter parameters, etc.

Downloads